A bowl of melted chocolate can look perfectly smooth and still set dull, streaked, or soft. The difference is temper: the controlled formation of stable cocoa butter crystals. To temper chocolate without marble, you need neither a stone slab nor professional equipment. A careful seeding method, a reliable thermometer, and patience will produce chocolate with the gloss, clean snap, and smooth melt that distinguish fine confectionery.
For an artisan bar, a molded praline shell, or a simple batch of dipped fruit, tempering is the small technical step that lets the quality of the chocolate speak clearly.
Why tempering changes the finished chocolate
Cocoa butter can solidify in several crystal forms. Only one of them, commonly called the stable beta crystal, gives chocolate its desirable finish: a reflective surface, firm contraction from a mold, and a crisp break rather than a waxy bend. It also helps chocolate remain stable at a cool room temperature instead of developing pale streaks shortly after it sets.
Those streaks are often called bloom. Fat bloom occurs when cocoa butter migrates and recrystallizes unevenly; sugar bloom happens when moisture dissolves sugar at the surface. Tempering cannot repair sugar bloom, but it greatly reduces the risk of fat bloom in freshly made pieces.
The method matters, but so does the chocolate itself. Chocolate with a high cocoa butter content is generally easier to temper than a compound coating made with vegetable fats. A true bean-to-bar chocolate or quality couverture rewards precision because its flavor and texture remain central to the finished piece.
What you need before you begin
A marble slab is useful in a professional workshop because it cools chocolate quickly. It is not essential. The most dependable home approach uses unmelted chocolate to introduce the right crystals into melted chocolate.
Gather a heatproof bowl, a silicone spatula, a digital thermometer, a microwave or a saucepan for a gentle water bath, and finely chopped chocolate. Keep every tool completely dry. A single drop of water can cause melted chocolate to seize into a grainy paste.
Choose chocolate that you enjoy eating on its own. Its origin, roast, sugar level, and cocoa butter content will all remain evident after tempering. If you are making shells or decorations, use a chocolate with enough fluidity for the job. A thick, intensely flavored bar can be wonderful for eating yet less convenient for coating delicate pieces.
How to temper chocolate without marble: the seeding method
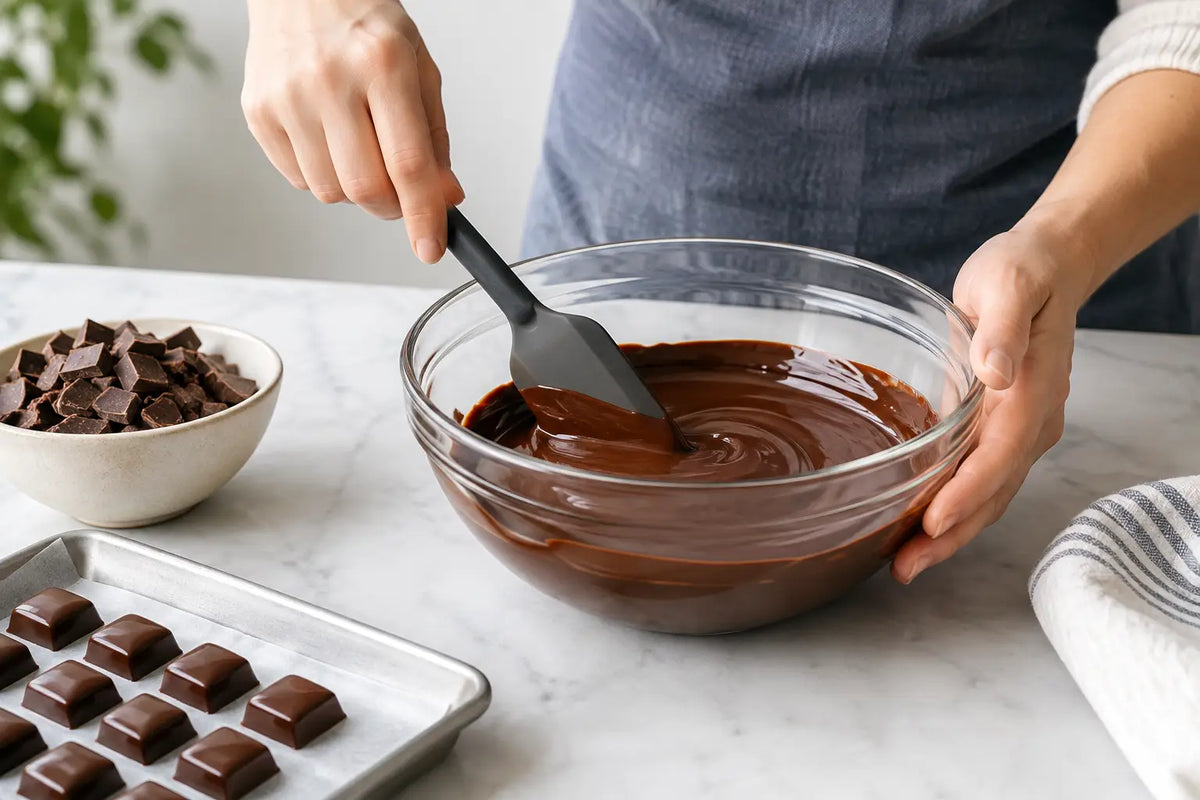
The seeding method is the best starting point for most home cooks. Set aside roughly one-quarter to one-third of your chopped chocolate as seed chocolate. Melt the remaining portion slowly, then stir in the reserved pieces to cool the mixture while supplying stable crystals.
Melt with restraint
Place about two-thirds of the chocolate in a dry heatproof bowl. Set it over a pan of barely simmering water, ensuring the base of the bowl does not touch the water. Stir regularly and remove the bowl from the heat before the chocolate reaches its maximum temperature. Residual heat will continue the melting.
For dark chocolate, heat to 113 to 122 degrees Fahrenheit. Milk chocolate is more delicate and should reach 104 to 113 degrees. White chocolate follows the same range as milk chocolate, though its high sugar and milk solids make it especially vulnerable to overheating.
Do not rush this stage. Chocolate scorched by direct heat develops a thick texture and cooked flavor, neither of which tempering can correct. If using a microwave, heat at half power in 15- to 20-second intervals, stirring thoroughly between each interval.
Add the seed chocolate
Once the base chocolate is fully melted, remove it from heat and add the reserved chopped chocolate a little at a time. Stir continuously but calmly, scraping the sides and bottom of the bowl. The added chocolate should melt gradually as the mixture cools.
For dark chocolate, work toward 88 to 90 degrees Fahrenheit. For milk chocolate, aim for 84 to 86 degrees. White chocolate is usually ready at 82 to 84 degrees. These ranges are useful standards, not absolute laws. A chocolate with a different cocoa butter level or a distinctive recipe may perform best a degree above or below them.
If a few small pieces of seed remain when the chocolate reaches its working temperature, remove them. They have done their job. Trying to melt every last piece can push the temperature too high and undo the temper.
Test before committing
Spread a thin smear of chocolate onto parchment paper, the edge of a plate, or the blade of a dry knife. At a room temperature around 68 to 72 degrees Fahrenheit, properly tempered dark chocolate should begin to set within three to five minutes. It should look glossy, feel dry rather than tacky, and release cleanly from the surface.
Milk and white chocolate may take slightly longer. If the sample sets with gray streaks, stays soft, or looks matte, continue stirring for another minute and test again. A bowl that is just one or two degrees too warm can produce an imperfect finish.
The microwave method for smaller batches
For a small batch, the microwave can be even simpler. Place all of the chopped chocolate in a dry bowl and heat it in short bursts at half power. Stop heating when roughly three-quarters of the pieces have melted. Then stir steadily until the remaining pieces dissolve in the residual warmth.
This approach works because the unmelted pieces act as seed chocolate. The risk is that microwaves heat unevenly, creating hot pockets that can destroy the crystal structure before the surface of the bowl feels especially warm. Short intervals and thorough stirring are nonnegotiable.
Begin checking the temperature as soon as the chocolate appears mostly melted. Bring it to the same working ranges: 88 to 90 degrees for dark, 84 to 86 degrees for milk, and 82 to 84 degrees for white. This method is particularly useful for drizzling, dipping, or making a modest number of molded decorations.
Keep tempered chocolate in its working range
Tempered chocolate is not static. As you dip truffles or fill molds, it gradually cools and thickens. Stir it often to keep the crystals evenly distributed. If it drops below its working range and becomes too thick, warm it very gently for just a few seconds, then stir and check again.
Avoid bringing dark chocolate above 91 degrees Fahrenheit once it is tempered. For milk and white chocolate, stay below 87 degrees. Excessive reheating melts out the stable crystals, sending you back to the beginning.
Humidity and room temperature matter, too. Work in a cool, dry kitchen whenever possible. Refrigeration is not the first answer for setting chocolate: condensation can create sugar bloom. Let finished pieces set at room temperature, then store them away from heat, sunlight, and strong odors.
When tempering does not go as planned
If chocolate is dull or soft, it was likely used outside its proper working range or was not stirred long enough after seeding. Rewarm it carefully until fully melted, then repeat the process with fresh seed chocolate. Starting over is often faster than hoping an imperfect batch will set correctly.
If the chocolate becomes thick and grainy after contact with water or steam, it has seized. It will no longer be suitable for molding or dipping, but it can still be repurposed in a baked sauce, brownie batter, or ganache. If it simply seems too thick while still smooth, a short, controlled warming may be all it needs.
Fine chocolate asks for attention because its structure is part of its character. Once you learn to read the temperature, sheen, and flow in the bowl, tempering becomes less of a technical hurdle and more of a quiet finishing ritual before the first clean snap.