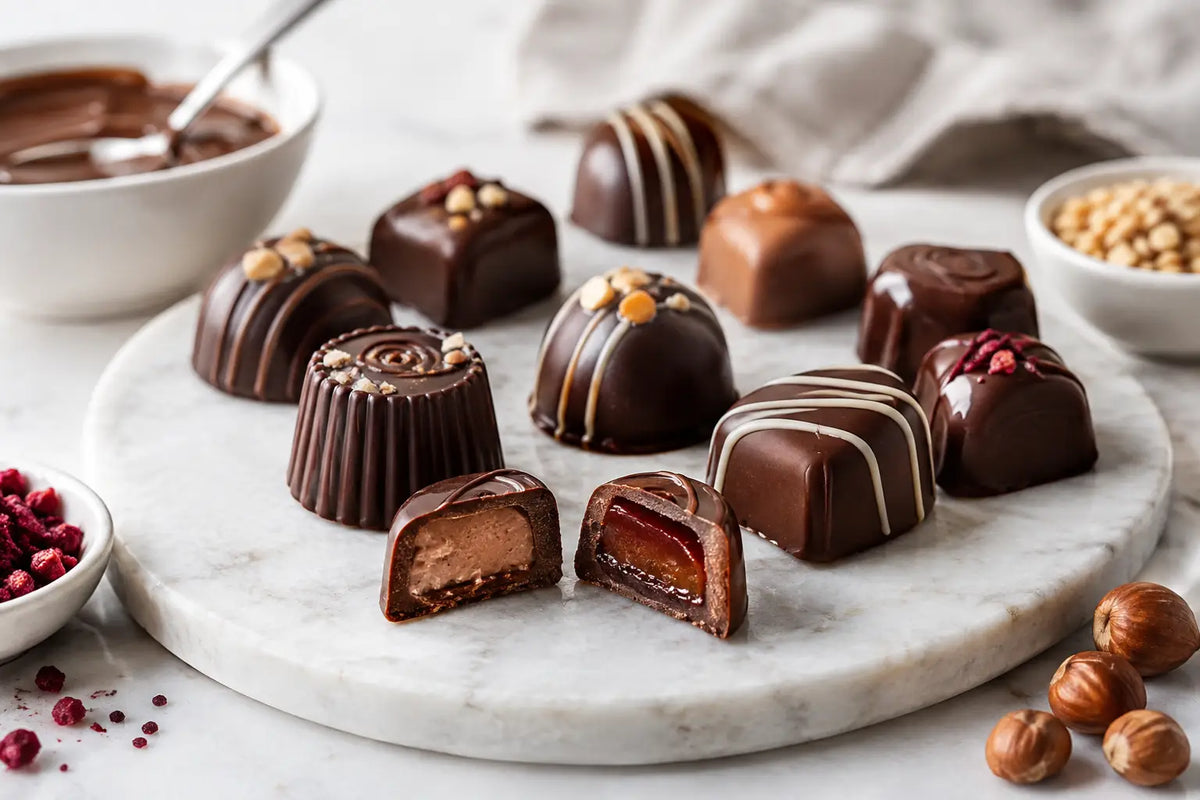
A polished praline begins long before the first shell is molded. To make filled chocolate pralines with a clean snap, a glossy finish, and a filling that tastes as considered as the chocolate around it, focus on three things: well-tempered chocolate, a stable center, and patience at each stage.
Belgian-style pralines are small chocolates with a molded shell and a distinct filling, rather than the pecan-based confection many Americans know as a praline. They can be simple - a dark chocolate ganache, perhaps - or layered with fruit, nuts, coffee, caramel, or a delicate liqueur. The finest examples feel balanced rather than busy: the cacao remains present, and the filling gives it a new dimension.
Start With Chocolate Worth Tasting on Its Own
The shell is not merely a container. It is the first flavor, the texture that sets up the filling, and the finish that lingers after the last bite. Choose real chocolate with cocoa butter high on the ingredient list. Avoid candy coating or compound chocolate, which may be easier to melt but cannot deliver the same snap, shine, or clean melt.
Dark chocolate between 60% and 75% cacao is an excellent starting point. It has enough intensity to stand beside rich fillings while remaining broadly appealing for gifting. Milk chocolate makes a more rounded, caramel-like shell and pairs especially well with hazelnut, coffee, and salted caramel. White chocolate is technically chocolate because it contains cocoa butter, but its sweetness calls for restraint in the center. Tart fruit, pistachio, and citrus work particularly well.
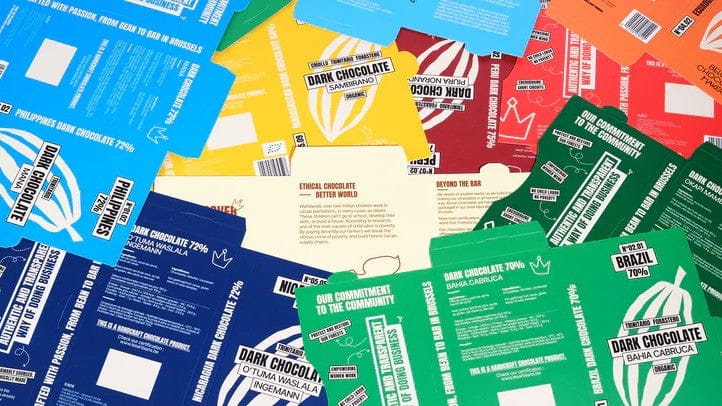
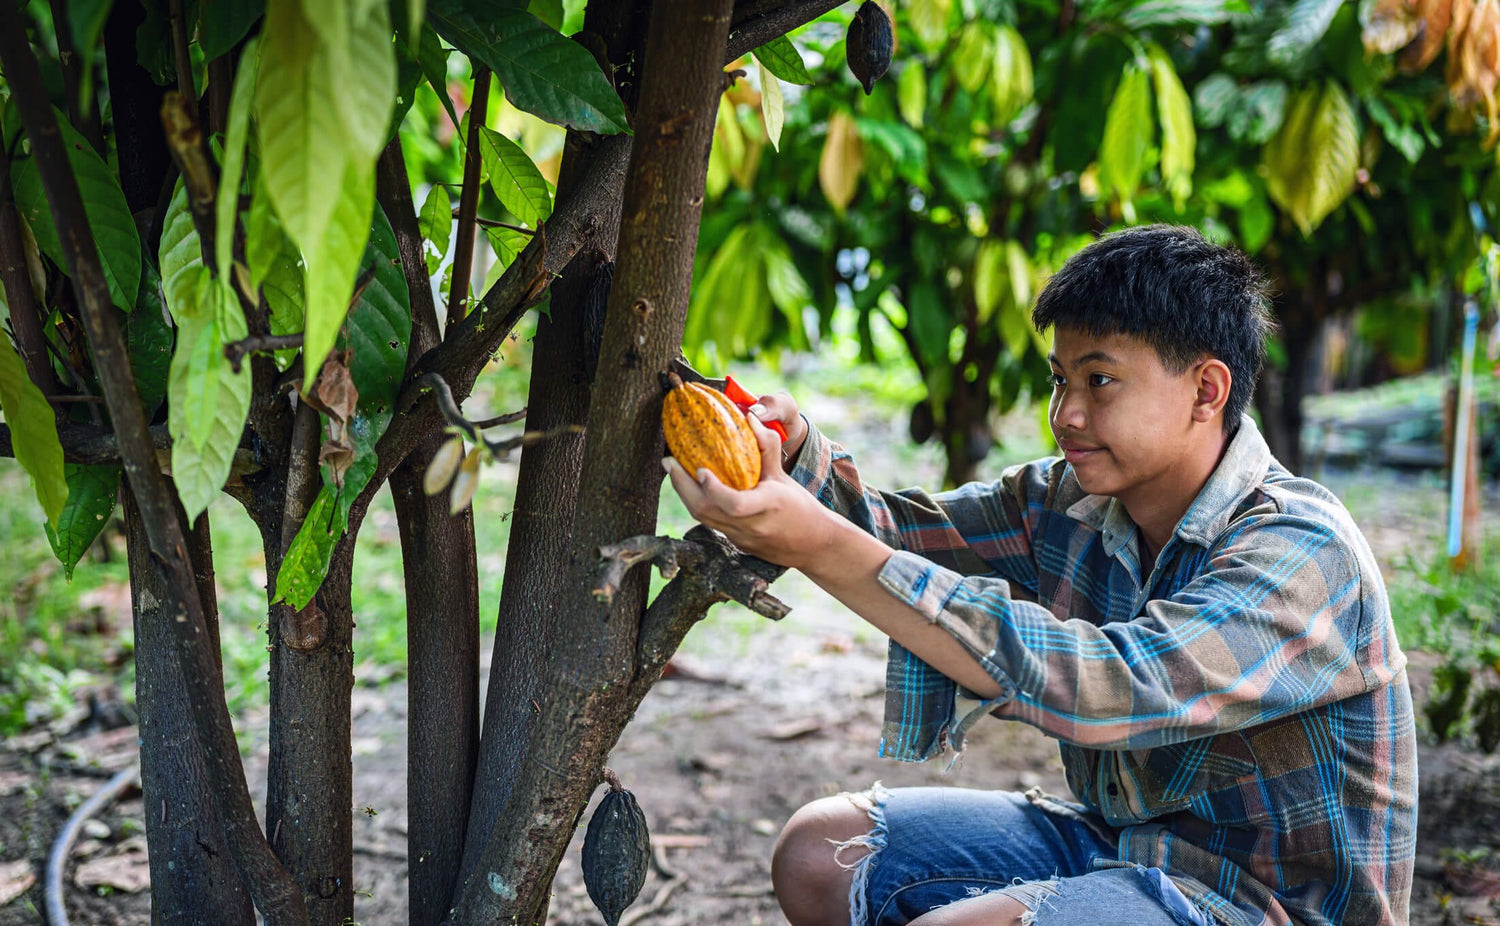
Bean-to-bar chocolate adds another consideration: origin character. A bright, fruit-forward cacao can lift a raspberry or passion fruit ganache, while a deeper, nutty profile may be more at home with praline paste or espresso. This is where making chocolates becomes less like following a formula and more like composing flavors.
Equipment That Makes a Visible Difference
A polycarbonate mold is the most reliable route to professional-looking pralines. Its rigid, glossy surface helps tempered chocolate contract as it sets, releasing shells with a brilliant finish. Flexible silicone molds work for beginners, but they rarely produce the same crisp edges or shine.
You will also need a digital thermometer, a heatproof bowl, a silicone spatula, a small offset spatula or bench scraper, piping bags, and a scale. A thermometer is essential. Tempering by appearance alone can work after a great deal of experience, but precise temperatures remove unnecessary guesswork.
Keep every tool completely dry. Even a small drop of water can cause melted chocolate to seize into a grainy paste. Set up your work area before melting anything, with the mold clean and polished, fillings prepared, and a sheet pan ready for resting the chocolates.
How to Make Filled Chocolate Pralines With Tempered Shells
Tempering aligns cocoa butter crystals so the finished shell is glossy, firm, and stable at room temperature. Untempered chocolate may still taste good, but it can look dull, feel soft, and develop pale streaks or bloom over time.
For dark chocolate, melt it gently to about 113°F to 122°F. Let it cool, stirring steadily, until it reaches 82°F to 84°F, then warm it carefully to a working temperature of 88°F to 90°F. Milk and white chocolate use lower temperatures, generally melting around 104°F to 113°F and working at approximately 84°F to 88°F. Always check the guidance for the specific chocolate, since cocoa butter content and formulation can vary.
To form the shells, fill each cavity of the mold with tempered chocolate. Tap the mold firmly on the counter to release air bubbles, then turn it upside down over the bowl and allow excess chocolate to drain out. Scrape the surface clean in one confident pass. This leaves a thin, even coating inside each cavity.
Place the mold upside down on parchment for a few minutes so the shell does not pool at the opening. Then turn it upright and allow it to set at a cool room temperature, ideally around 65°F to 68°F. Refrigeration can help briefly in a warm kitchen, but extended chilling invites condensation and can compromise the finish.
A shell that releases easily from the mold is a good sign that tempering was successful. If it clings stubbornly, looks streaky, or feels pliable, review the temperature curve before continuing.
Choose a Filling With Structure, Not Just Flavor
The filling must be soft enough to be pleasant, yet stable enough to remain inside the shell and keep well. A loose sauce may taste wonderful on a spoon but can leak, shorten shelf life, and soften the chocolate around it.
For a dependable dark chocolate ganache, finely chop 7 ounces of dark chocolate and place it in a bowl. Heat 3.5 ounces of heavy cream just until steaming, pour it over the chocolate, and let it stand for one minute. Stir slowly from the center outward until smooth. Add a small piece of softened butter for a silkier finish, if desired. Allow the ganache to cool until it is pipeable rather than warm.
This one-to-two ratio of cream to dark chocolate creates a firm, classic center. It is a useful baseline, not an absolute rule. A higher percentage chocolate may need slightly more cream; milk chocolate generally needs less. For a richer, longer-lasting filling, replace part of the cream with nut paste or use a caramel base. Fresh fruit purees and liqueurs can be exceptional, but both increase water activity and deserve careful formulation if the pralines are intended for storage or gifting.
A modest pinch of salt can sharpen a caramel or hazelnut filling. Vanilla, coffee, citrus zest, and spices should support the cacao rather than cover it. When using a single-origin chocolate, taste the shell and filling together before committing to a full batch.
Fill, Seal, and Let the Pralines Rest
Pipe the filling into the set shells, stopping about 1/8 inch below the rim. This space matters. If filling touches the top edge, the closing layer cannot bond properly to the shell, making leaks and separation more likely.
Let the centers crystallize before sealing. Depending on the filling and room temperature, this may take one to several hours. Ganache should be set at the surface but not dry or crusted. A rushed filling stage is one of the most common reasons handmade pralines lose their tidy shape.
Bring the remaining chocolate back to its working temperature if needed. Spoon or pipe it over the cavities, then scrape the mold level with a bench scraper. One or two clean passes are better than repeatedly dragging chocolate across the mold, which can disturb the seal.
Leave the mold to set until the chocolate contracts. When ready, place a sheet pan over the mold, turn both over, and give a firm tap. Well-tempered pralines should release with minimal effort, each with a smooth, glossy face.
Store Them Like Fresh Confections
Filled pralines are at their best when treated as fresh artisan chocolate, not as pantry candy meant to last for months. Store them in an airtight box in a cool, dry room away from sunlight and strong aromas. A wine refrigerator set too cold or a household refrigerator can create moisture problems, so use either only when the room is genuinely too warm.
Plain nut or gianduja-style fillings keep longer than cream ganache or fruit centers. For home batches made with fresh cream, enjoy them within one to two weeks for the best texture and flavor. If giving them as a gift, include the date they were made and encourage the recipient to savor them promptly.
At The Belgian Chocolate Makers, every stage from cacao bean to finished praline is considered part of the craft. That same mindset improves a home batch: choose ingredients with character, respect temperature and time, and let a restrained filling reveal what the chocolate can do.
A box of handmade pralines does not need dozens of flavors to feel generous. A few carefully made pieces - perhaps dark ganache, hazelnut praline, and a bright fruit center - offer more pleasure when each shell snaps cleanly and every filling has a clear purpose.